

When preparing a Plano home for sale, freshly painted walls can make the interior feel brighter, cleaner, and better maintained. However, painting over dents, cracks, stains, or unfinished patches may draw more attention to those problems instead of concealing them. The best results begin with careful inspection and drywall preparation.
This drywall and painting checklist helps homeowners identify repairs, choose buyer-friendly colors and finishes, and prepare each room for listing photos, showings, and a smoother sale.
Why Drywall and Paint Matter Before Selling
Walls cover a large portion of every room. Buyers may quickly notice scuffs, nail holes, water stains, visible drywall seams, uneven touch-ups, or highly personalized colors. These details can influence whether a home appears move-in ready or in need of additional work.
Addressing wall damage and repainting selected areas may help:
- Create a cleaner first impression
- Make rooms look brighter and more cohesive
- Improve listing photographs
- Reduce visible signs of everyday wear
- Allow buyers to focus on the home rather than repair tasks
- Present renovations and furnishings more effectively
Not every room needs a complete repaint. A professional assessment can help prioritize areas that will make the greatest visual difference.
1. Walk Through the Home in Natural Light
Begin with a room-by-room inspection during daylight. Open blinds and curtains, turn on the main lights, and examine walls from several angles. Side lighting often reveals damage or texture that is difficult to see straight on.
Look for:
- Nail and screw holes
- Small dents and scratches
- Cracks near doors, windows, and ceilings
- Peeling, bubbling, or flaking paint
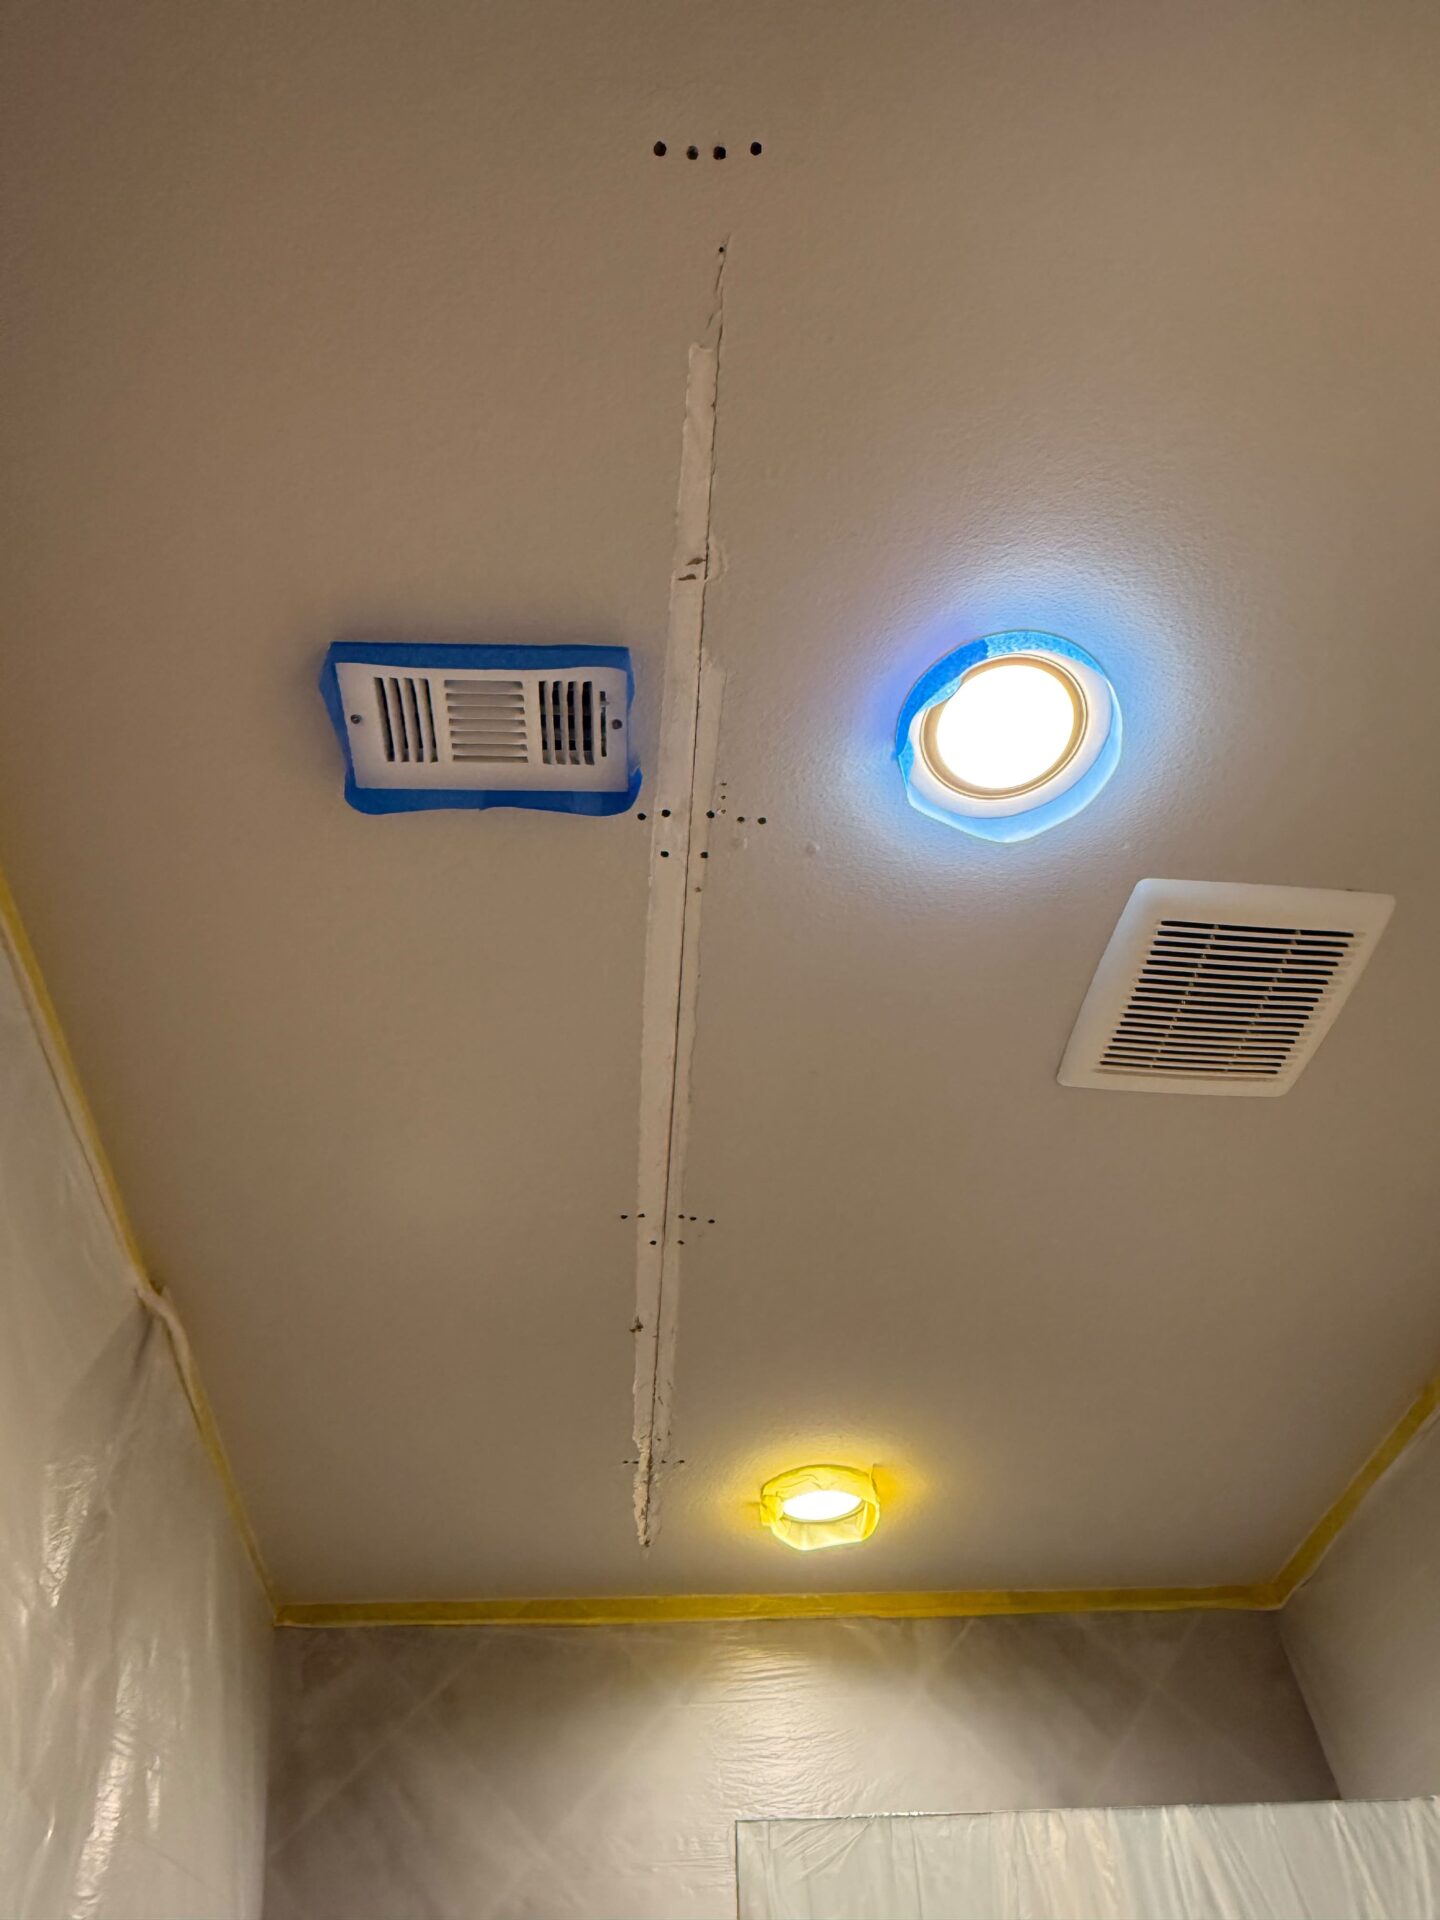
- Visible drywall tape or seams
- Uneven patches from previous repairs
- Water stains or discoloration
- Scuff marks and fingerprints
- Furniture rub marks
- Gaps around trim or fixtures
Create a written list for each room. Separating drywall repairs from cosmetic painting tasks makes it easier to establish a practical schedule and budget.
2. Remove Wall Decor Carefully
Take down artwork, mirrors, shelves, television mounts, and other items that will not remain with the home. Remove fasteners carefully to avoid creating larger holes.
Small picture-hanger holes may require simple filling and sanding. Larger anchor holes, damaged paper facing, or openings from mounted equipment may need more detailed repair. Do not paint directly over exposed anchors or rough patches; these areas often remain visible after the paint dries.
If wall-mounted items will stay for listing photos but be removed before closing, discuss the timing with your real estate professional and painting contractor.
3. Identify Cracks and Determine Their Cause
Small cosmetic cracks can sometimes develop around joints, corners, doors, or windows. They may be repaired as part of surface preparation. However, recurring, widening, diagonal, or extensive cracks deserve closer attention before they are covered.
Simply filling and painting a crack without addressing movement may result in the line returning. If the pattern suggests a moisture, structural, or foundation concern, consult an appropriate qualified professional before completing cosmetic work.
For ordinary drywall cracks, proper repair may involve opening the damaged area, securing loose material, applying tape or compound, sanding, priming, and repainting.
4. Investigate Water Stains Before Painting
Water stains should never be treated as a paint-only problem. First identify and correct the source, which could involve plumbing, roofing, HVAC condensation, a window leak, or a previous overflow.
Once the area is dry and the cause has been repaired, damaged drywall can be evaluated. Soft, swollen, crumbling, or extensively stained material may need replacement. A stain-blocking primer may also be necessary to prevent discoloration from bleeding through the new coating.
Covering an active moisture problem can lead to additional damage and may create concerns during a buyer’s inspection.
5. Repair Holes, Dents, and Damaged Corners
Repair requirements depend on the size and condition of the damaged area.
- Tiny nail holes may need lightweight filler.
- Small dents and shallow damage may require joint compound.
- Larger holes may need backing, a drywall patch, tape, and several compound coats.
- Damaged corners may require repair or replacement of the corner bead.
- Torn drywall paper should be sealed correctly before compound and paint are applied.
Each repair must dry, be sanded smooth, and be checked under good lighting. Rushing this step can leave ridges, depressions, or rough edges that become more noticeable after painting.
6. Check Previous Drywall Repairs
Old repairs may become obvious when furniture is removed or when natural light reaches the wall. Look for raised patches, different textures, flashing, visible sanding scratches, and areas where the paint sheen does not match.
Professional painting and drywall services can blend repairs into the surrounding surface before repainting. Depending on the condition, a full wall may need to be primed or painted from corner to corner to avoid a patchy appearance.
7. Decide Whether Drywall Replacement Is Necessary
Some damage cannot be corrected effectively with surface filler alone. New drywall installation may be appropriate when panels are extensively water-damaged, broken, sagging, poorly installed, or affected by large openings.
Replacement work should be completed before final painting. The process may include removing damaged material, installing new drywall, taping joints, applying several coats of compound, sanding, matching the surrounding texture, priming, and painting.
Homeowners should allow enough time for compound, texture, primer, and paint to dry between stages. Starting early helps prevent last-minute delays before listing photos or showings.
8. Remove Dust, Grease, and Surface Contaminants
Paint adheres best to a clean, sound surface. Kitchen walls may have cooking residue, while hallways, children’s rooms, and areas around light switches can collect fingerprints and dirt.
Before painting:
- Dust walls, trim, and baseboards
- Remove cobwebs from corners and ceilings
- Clean greasy or heavily touched areas appropriately
- Allow cleaned surfaces to dry fully
- Remove loose paint
- Sand glossy areas when required by the coating system
Use cleaning products compatible with the existing surface and the new paint. Residue left behind can interfere with adhesion.
9. Choose Buyer-Friendly Paint Colors
Bold colors can express personality, but highly specific choices may make it harder for some buyers to imagine their own belongings in the room. Neutral does not have to mean plain white. Warm whites, soft beiges, light greiges, and gentle natural tones can make interiors feel welcoming and flexible.
When reviewing paint color trends, consider the home’s permanent features rather than selecting a shade based only on popularity. Flooring, countertops, cabinets, tile, stone, lighting, and adjoining rooms should influence the choice.
For a cohesive appearance:
- Use a limited color palette
- Create smooth transitions between connected spaces
- Test samples beside flooring and trim
- View colors during the day and at night
- Avoid mixing too many undertones
- Consider how the color photographs
An experienced painter or color consultant can help narrow the options for the home’s architecture and lighting.
10. Select the Right Interior Paint Finish
The correct interior paint finish affects appearance, washability, and how visible wall flaws will be.
Matte or flat
Low-sheen paint creates a soft look and helps minimize minor surface imperfections. It is often used on ceilings, low-traffic rooms, and walls where reducing glare is important.
Eggshell or satin
These finishes provide more washability and moderate light reflection. They are common choices for living areas, hallways, bedrooms, and other active spaces. Satin may highlight uneven repairs more than matte paint, so surface preparation matters.
Semi-gloss or gloss
Higher-sheen finishes are often used on trim, doors, baseboards, and selected high-contact surfaces. They are easier to wipe clean but make dents, brush marks, and poor preparation more visible.
Use consistent finishes in connected rooms unless a deliberate change supports the design.
11. Test Colors Before Painting Entire Rooms
Small paint chips do not show how a color will behave across a large wall. Apply samples in representative areas and observe them in morning light, afternoon light, and under the home’s usual fixtures.
Test near:
- Flooring
- Cabinets
- Countertops
- Window trim
- Large furniture pieces
- Adjoining rooms
Allow the samples to dry fully. Paint often changes appearance as it dries, and the finish can affect how light or dark the color appears.
12. Prioritize High-Impact Areas
If time or budget is limited, focus on the spaces that shape first impressions and listing photographs.
Priority areas often include:
- Entryway and foyer
- Living room
- Kitchen and dining area
- Primary bedroom
- Main hallways
- Frequently used bathrooms
- Walls visible immediately upon entering
Also repaint areas with obvious stains, mismatched touch-ups, intense colors, or extensive scuffing. Rooms in good condition with broadly appealing paint may only need cleaning and small repairs.
13. Refresh Trim, Doors, and Baseboards
Fresh walls can make worn trim look more noticeable. Inspect baseboards, doors, window casings, and crown molding for chips, scratches, dirt, and yellowing.
Clean and repair the surfaces before painting. Caulk small gaps where appropriate, fill nail holes, sand rough areas, and use a coating suited to trim. A consistent trim color can help unify rooms with different wall colors.
Do not paint over loose caulk, dirty surfaces, or hardware. Careful preparation and clean cut lines contribute significantly to the final appearance.
14. Avoid Random Paint Touch-Ups
Touch-up paint may look different from the surrounding wall because of aging, fading, sheen differences, application method, or an incorrect color match. Even paint from the original can may not blend invisibly after several years.
If a touch-up remains visible after drying, repainting the full wall from corner to corner often creates a more uniform result. This is especially important in rooms with strong natural light or satin finishes.
15. Review Ceilings Carefully
Ceilings can show water marks, settling cracks, dust, and discoloration. Because buyers often look upward when examining fixtures or room height, ceiling damage should not be ignored.
Repair cracks and stains correctly before repainting. Use a suitable primer where needed and select a ceiling paint that provides even coverage with minimal glare. If a textured ceiling requires repair, matching the existing pattern may require professional skill.
16. Use Proper Surface Preparation and Primer
Primer may be needed over new drywall, repaired areas, stains, strong colors, glossy coatings, or porous surfaces. It helps create a consistent base and can reduce uneven absorption that makes patches visible.
New drywall compound and the surrounding painted wall absorb coatings differently. Spot-priming may work for minor areas, while extensive repairs may require a broader primer application. The appropriate method depends on the wall condition and selected paint system.
Professional painting services can determine when cleaning, sanding, patching, caulking, or priming is necessary before the finish coats are applied.
17. Protect Floors, Fixtures, and Remaining Furniture
Before work begins, move furniture away from the walls and remove fragile objects. Protect flooring, countertops, cabinets, fixtures, and built-in features with appropriate coverings.
Remove switch plates and outlet covers instead of painting around them. Mask or protect hardware that will remain. Good preparation helps prevent splatters, overspray, and accidental damage that could add more work before the home is listed.
18. Plan the Work in the Correct Order
Completing tasks in the right sequence reduces rework. A typical order is:
- Identify and correct moisture or underlying problems.
- Remove wall-mounted items that will not remain.
- Complete drywall repairs or replacement.
- Sand, clean, and prepare surfaces.
- Prime repaired or problem areas.
- Paint ceilings.
- Paint walls.
- Paint trim and doors as appropriate.
- Complete final touch-ups.
- Clean the rooms and inspect them under listing-day lighting.
If other remodeling work is planned, complete dusty or disruptive projects before final painting whenever possible.
19. Inspect the Finished Work Before Listing Photos
After the paint has dried, view every room under natural and artificial light. Check for:
- Missed spots
- Thin coverage
- Drips or roller marks
- Uneven sheen
- Rough patches
- Paint on fixtures or flooring
- Inconsistent lines around ceilings and trim
- Repairs that remain visible
Small corrections are easier to complete before furniture staging, professional photography, and buyer showings begin.
20. Know When to Hire Professionals
DIY work may be manageable for a few nail holes or a small room, but larger repairs and whole-home painting require time, tools, careful preparation, and consistent application.
Professional painting services in Plano may be especially helpful when:
- Several rooms require repainting
- Drywall seams or patches are visible
- Walls have water damage
- High ceilings or stairwells are involved
- Texture must be matched
- Dark colors need to be covered
- The listing schedule is approaching quickly
- A uniform, photo-ready finish is important
A combined painting and drywall team can coordinate repairs and coatings without leaving the homeowner to manage separate stages.
Prepare Your Plano Home With Emerson Pro Services
A successful pre-sale update is not about covering every surface with new paint. It is about identifying visible problems, correcting drywall damage, selecting cohesive colors, and applying an appropriate finish with careful preparation.
Use this drywall and painting checklist to organize the work before your home reaches the market. Emerson Pro Services provides painting and drywall services for Plano homeowners, including drywall repair, drywall installation, surface preparation, interior painting, trim painting, and finish selection.
Contact Emerson Pro Services to schedule professional painting services in Plano and prepare your home for listing photos, showings, and prospective buyers.
Contact Us:
1100 E Plano Pkwy #102, Plano, TX
972-947-5654
www.emersonproservices/plano/paint-drywall/
Frequently Asked Questions
Should I repaint my entire home before selling?
Not always. Prioritize rooms with damage, strong personalized colors, stains, uneven touch-ups, or excessive wear. Rooms with clean, neutral, well-maintained walls may not need complete repainting.
What paint colors are best when preparing a home for sale?
Soft neutrals such as warm white, light beige, and gentle greige can appeal to a broad range of buyers. The best choice should coordinate with the home’s flooring, cabinets, countertops, and lighting.
Should drywall repairs be completed before painting?
Yes. Holes, cracks, loose tape, stains, and damaged areas should be repaired, sanded, and primed before finish paint is applied. Painting first can make defects more noticeable.
What interior paint finish is best for homes being sold?
Matte or eggshell can create a smooth appearance on many walls, while satin may suit active areas that require more washability. Semi-gloss is commonly used for trim and doors.
Can I paint over a water stain?
The moisture source must be identified and repaired first. After the area is dry and damaged material is addressed, a suitable stain-blocking primer may be needed before painting.
How far in advance should I schedule painting services?
Schedule as early as possible, particularly when multiple rooms, drywall repairs, texture matching, or new drywall installation are involved. This allows time for drying, inspection, staging, and listing photography.