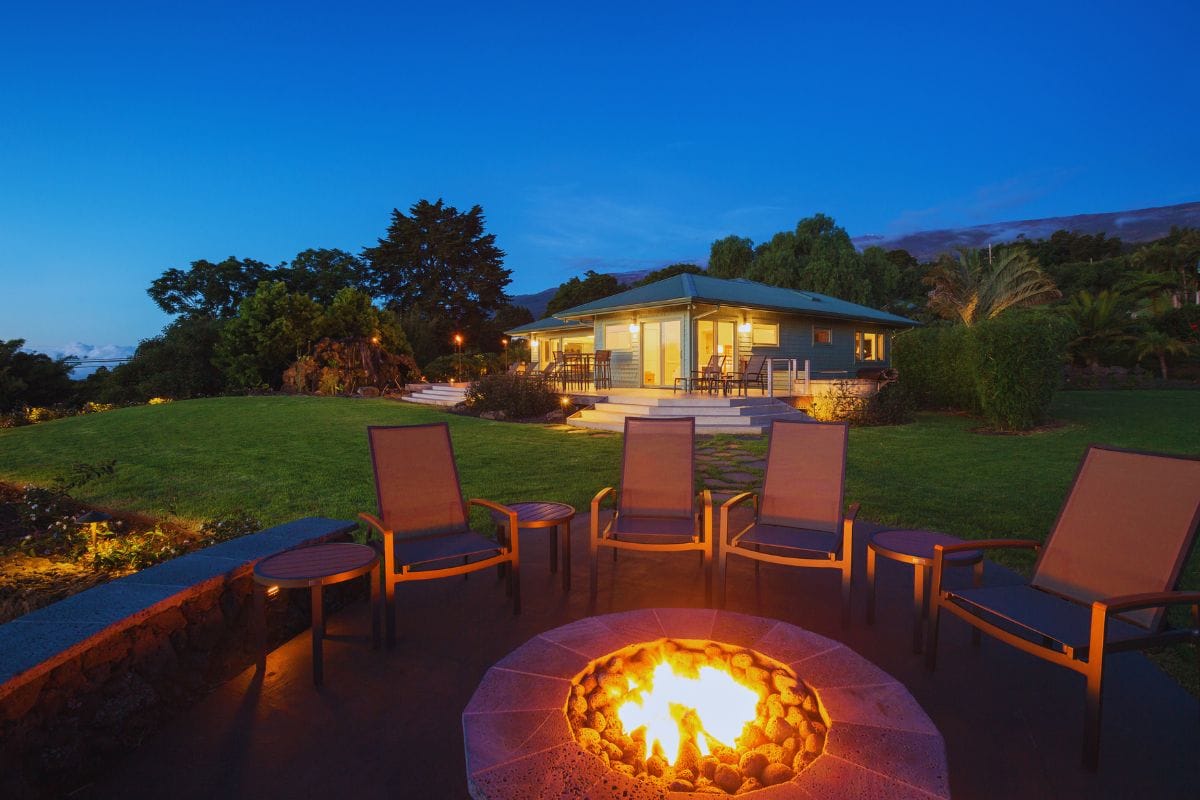
First, choose a safe location, clear the area, and mark the fire pit’s circumference. Dig a hole about 6 inches deep and fill it with gravel. Arrange fire bricks in a circle, stacking them to the desired height. Finally, add a steel ring for safety and enjoy your new fire pit!

A backyard fire pit is an excellent addition to any outdoor space, offering a cozy gathering spot for family and friends. Building your own fire pit can be a rewarding project that enhances your yard’s functionality and aesthetic appeal. Here’s a step-by-step guide on how to create your own DIY fire pit, brought to you by Emerson Turf & Outdoor Living, your trusted outdoor living experts in Dallas, TX.
Step 1: Choose the Right Location
Selecting a safe and suitable location is crucial for your fire pit. Ensure the spot is at least 10 feet away from any structures, trees, or flammable materials. Consider the prevailing wind direction to avoid smoke blowing towards your house or seating area. Mark the spot with a shovel or garden hose to visualize the fire pit’s placement.
Step 2: Prepare the Area
Once you’ve chosen the location, clear the area of any grass, plants, or debris. Use a shovel to remove the top layer of soil and create a level surface. This step is essential to ensure the stability of your fire pit.
Step 3: Mark the Fire Pit’s Circumference
Use a measuring tape to determine the fire pit’s desired diameter, typically between 36 to 44 inches. Mark the circumference with spray paint or a garden hose laid in a circle. This outline will guide your digging and brick placement.
Step 4: Dig the Fire Pit
Dig a hole within the marked circumference to a depth of about 6 inches. This depth provides a solid foundation for the fire pit and helps contain the fire. Once the hole is dug, fill it with a 2-3 inch layer of gravel. The gravel improves drainage and adds stability to the base.
Step 5: Lay the Fire Bricks
Begin placing fire bricks around the edge of the pit, forming a circle. Fire bricks are specially designed to withstand high temperatures and are essential for a safe fire pit. Stack the bricks in a staggered pattern, like laying bricks for a wall, to ensure stability. Continue stacking until you reach the desired height, typically 12 to 18 inches.
Step 6: Install a Steel Ring
For added safety and durability, place a steel fire ring inside the circle of fire bricks. The ring helps contain the fire and prevents the bricks from shifting over time. Ensure the ring fits snugly within the brick circle.
Step 7: Add Finishing Touches
Once the structure is complete, fill any gaps between the bricks with sand or gravel to secure them in place. You can also add decorative stones or pavers around the outside of the fire pit to enhance its appearance and blend it seamlessly with your outdoor decor.
Step 8: Enjoy Your Fire Pit
After completing your fire pit, it’s time to enjoy it! Gather some firewood, light a fire, and invite friends and family over for a cozy evening. Remember to follow all safety guidelines, such as keeping a fire extinguisher or water source nearby and never leaving the fire unattended.
Building a DIY fire pit is a fantastic way to enhance your backyard and create a focal point for outdoor gatherings. With a bit of planning and effort, you can construct a safe and attractive fire pit that will provide warmth and ambiance for years to come.
For more outdoor living projects and expert advice, contact Emerson Turf & Outdoor Living in Dallas, TX. Visit our website at Emerson Turf & Outdoor Living or call us at 972-316-4259 to learn more about our services and how we can help you transform your outdoor space.
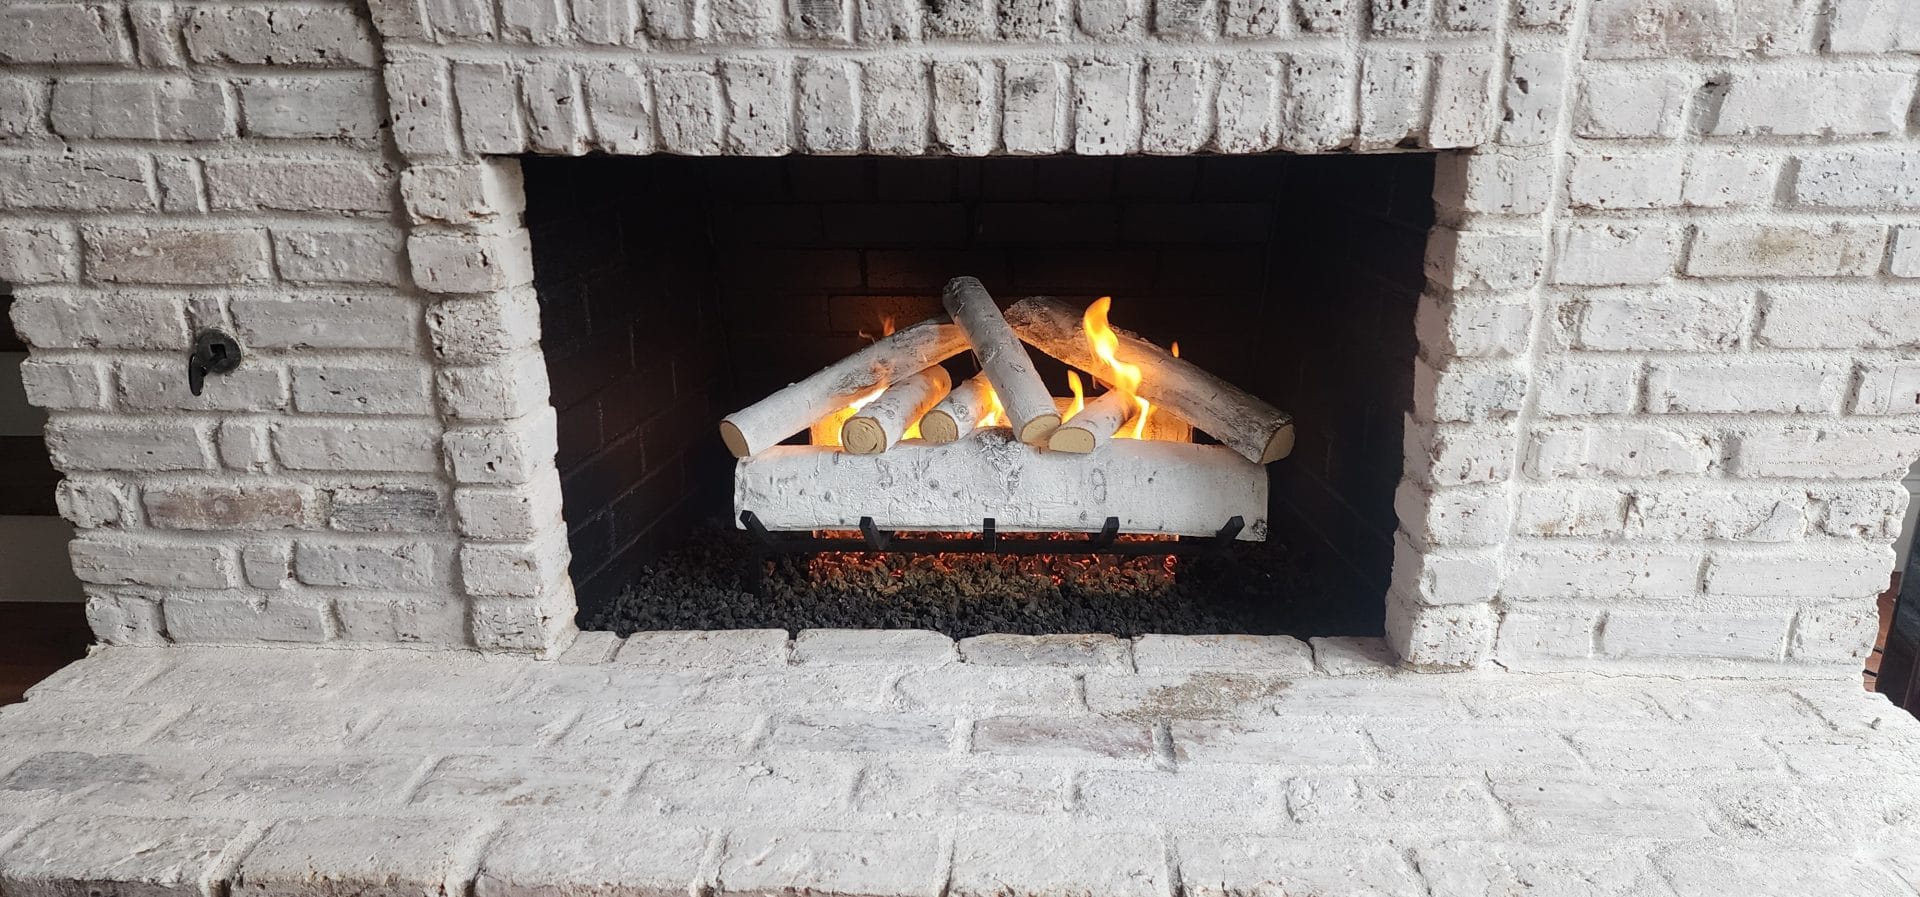
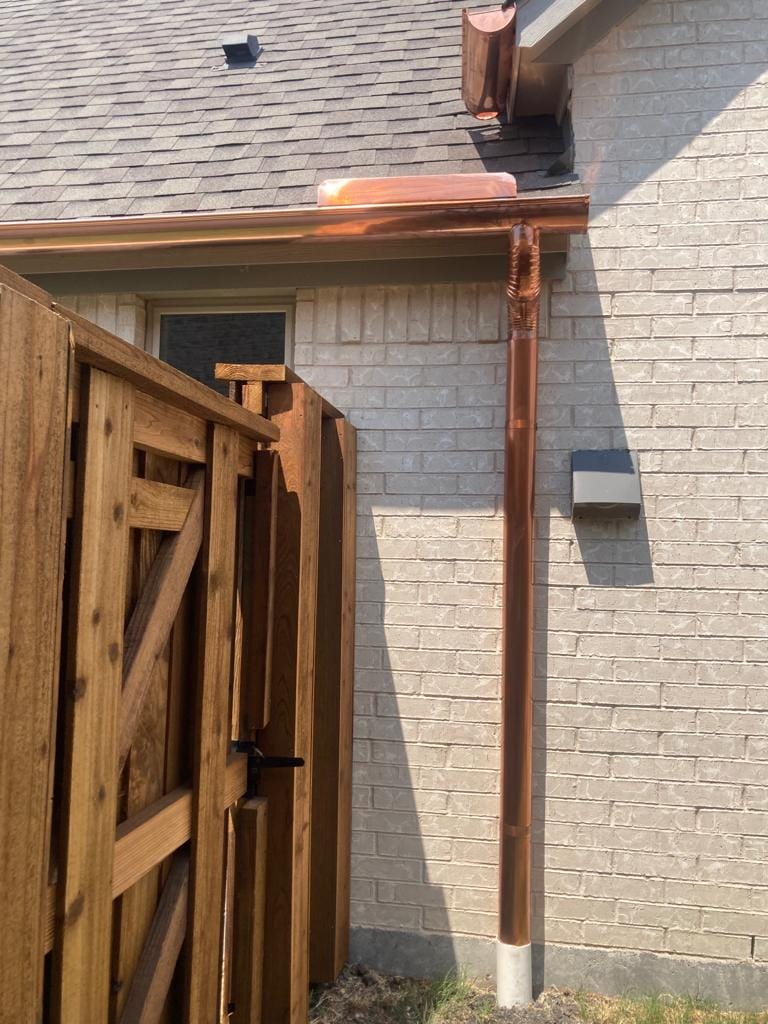
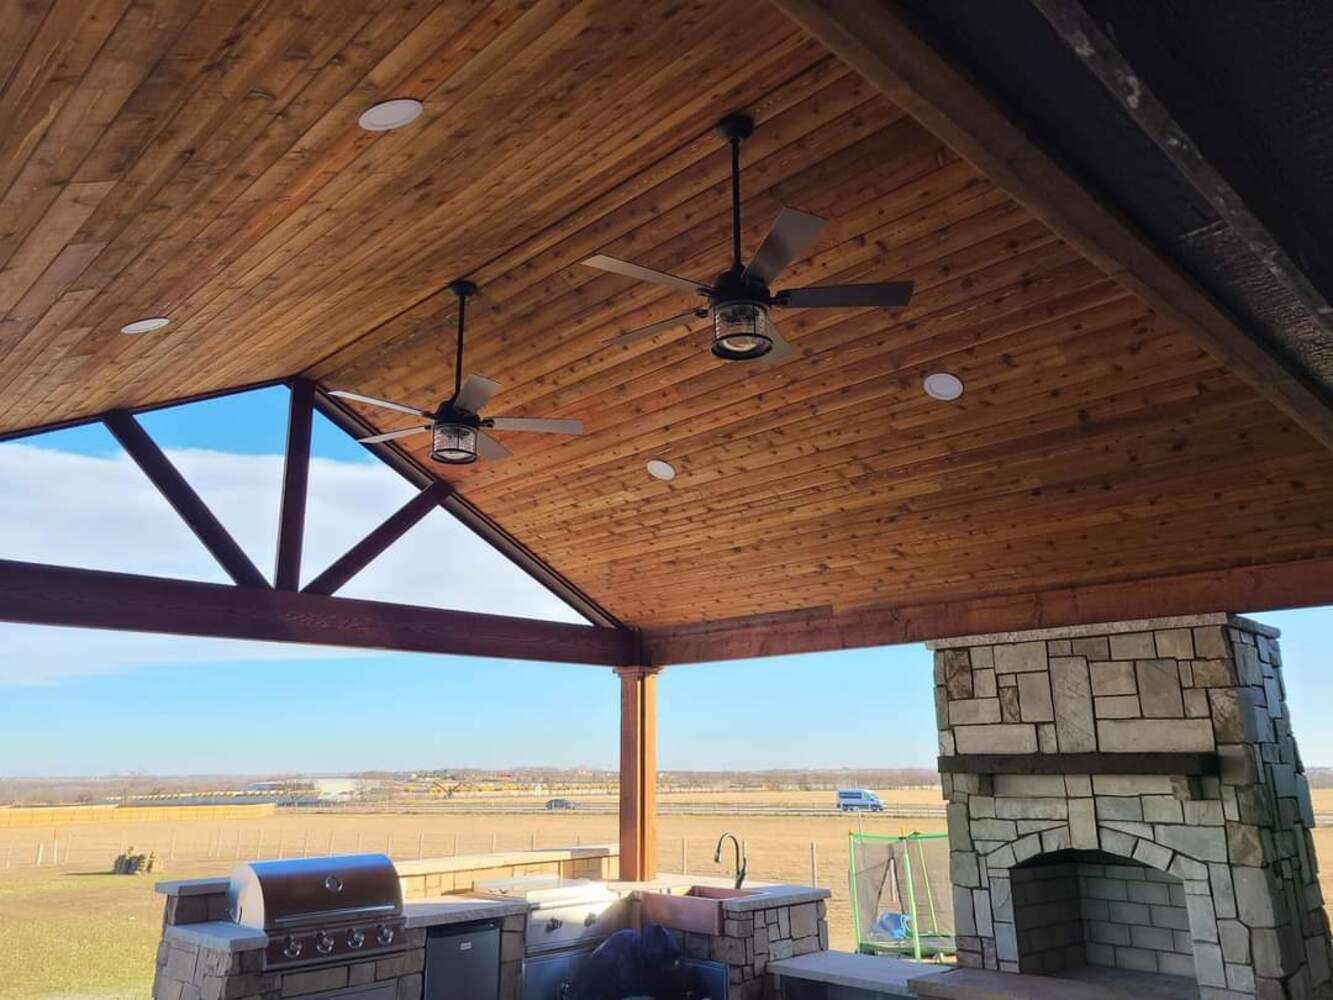
For other home services, visit our page at Emerson Pro Services for Gutters and Drainage, Chimney maintenance and installation, Air duct and Dryer services, Roofing and Siding, Masonry, and Outdoor Living Installation. Let us help you keep your home experience in top shape.


