

A professional masonry inspection evaluates the condition of brick, stone, mortar, concrete, pavers, retaining walls, chimneys, and related drainage components. The goal is to identify visible damage, determine its likely cause, and recommend repairs that address more than surface appearance.
For Frisco homeowners, an inspection is particularly valuable because North Texas heat, severe storms, changing moisture levels, and expansive soil can contribute to cracking, settlement, water intrusion, and displaced masonry. Understanding what happens during the inspection can help you prepare for the appointment and evaluate the contractor’s recommendations.
Why Schedule a Masonry Inspection?
Some masonry problems are easy to recognize. Loose bricks, crumbling mortar, leaning walls, and uneven pavers clearly require attention. Other conditions are more difficult to interpret.
A small stair-step crack may be related to minor settlement, continued foundation movement, thermal expansion, or stress around an opening. White stains may be harmless surface deposits, but they can also indicate that water is moving through the masonry.
A professional inspection helps distinguish isolated cosmetic wear from damage connected to moisture, drainage, soil movement, corrosion, or inadequate construction.
An inspection may be appropriate when you notice:
- Cracked, loose, or spalling bricks
- Missing or deteriorated mortar
- Stair-step or horizontal cracks
- Leaning or bulging walls
- Uneven patio or walkway pavers
- Standing water on hardscaped areas
- Rust stains above windows or doors
- White efflorescence on masonry
- Interior moisture near exterior walls
- Cracked chimney crowns
- Loose stones or masonry caps
- Retaining-wall movement
- Repaired cracks that continue returning
These warning signs do not all require the same solution. The inspection should identify the likely cause before a repair plan is prepared.
Step 1: Discussing the Homeowner’s Concerns
A professional masonry inspection generally begins with a conversation. The contractor may ask what you have noticed, when the problem first appeared, and whether it has changed over time.
Useful information includes whether cracks become wider during certain seasons, whether water appears only during wind-driven rain, and whether previous repairs have failed. The inspector may also ask about foundation work, plumbing leaks, drainage improvements, renovations, or significant storms.
Homeowners should point out every known concern, including problems that appear unrelated. A wet interior wall, sticking door, sinking patio, and cracked brick may be connected to the same underlying movement or drainage condition.
Photographs taken before, during, or after storms can help document intermittent problems that may not be visible on the inspection day.
Step 2: Reviewing the Property and Site Conditions
Before focusing on individual cracks, the inspector may review the property as a complete system. Masonry performance is affected by roof drainage, grading, soil conditions, landscaping, irrigation, and nearby structures.
The inspection may consider:
- Whether the ground slopes toward or away from the building
- Where gutters and downspouts release water
- Whether runoff collects near walls or foundations
- How irrigation affects masonry surfaces
- Whether trees or roots may influence nearby hardscaping
- How patios and walkways connect to the house
- Whether retaining walls have adequate drainage
- Where different materials meet
This overview can reveal conditions that would be missed by examining the masonry alone. For example, damaged mortar near the base of a wall may result from a downspout releasing water too close to the house.
Step 3: Inspecting Brick and Stone Surfaces
The contractor will examine visible brick and stone for cracks, chips, spalling, discoloration, movement, and previous repairs.
Spalling occurs when the face of a brick, stone, or concrete surface flakes or breaks away. It may be associated with water absorption, weather exposure, incompatible coatings, impact, or unsuitable repair materials.
The inspector may also look for masonry units that protrude from the wall, appear loose, or no longer align with the surrounding surface. These conditions may indicate failed mortar, corrosion, movement, or separation within the wall assembly.
During a brick repair assessment, the contractor should determine whether individual units can remain in place or whether selective replacement is necessary.
Step 4: Evaluating Mortar Joints
Mortar joints are inspected for cracking, erosion, separation, missing material, and improper previous repairs.
Mortar is intended to bond masonry units while accommodating some movement and helping the assembly manage moisture. When joints deteriorate, water can enter more easily and adjacent bricks may lose support.
The inspector may gently test selected joints to determine whether the mortar remains firm or has become soft and powdery. Areas exposed to roof runoff, irrigation, or persistent shade may deteriorate faster than protected sections.
If repointing is recommended, the replacement mortar should be compatible with the existing masonry. A mortar that is too hard can transfer stress to softer brick or stone.
Step 5: Documenting Crack Patterns
Not all masonry cracks mean the same thing. Their direction, location, width, shape, and relationship to nearby openings can provide clues about the cause.
Stair-step cracks follow mortar joints and may be associated with settlement or foundation movement. Vertical cracks can occur near corners, material transitions, or areas lacking proper movement joints.
Horizontal cracks may involve pressure, corrosion, or structural movement and deserve careful evaluation. Cracks above windows and doors may be related to lintel deterioration, inadequate support, or movement around the opening.
The contractor may measure or photograph cracks so their locations and severity can be included in the repair proposal. If significant structural movement is suspected, evaluation by a qualified engineer or foundation professional may be recommended.
Step 6: Inspecting Windows, Doors, and Steel Lintels
Windows, doors, and garage openings interrupt masonry walls and create areas where cracks and leaks commonly develop.
The inspector may check the surrounding brick, mortar, sealant, sills, flashing, and steel lintels. A lintel supports the masonry above an opening. If water reaches the steel and corrosion develops, the expanding rust can crack joints or lift nearby bricks.
Warning signs include rust staining, horizontal cracks, separated mortar, and displaced bricks above the opening.
The contractor should determine whether surface repointing is sufficient or whether the lintel and concealed flashing require more extensive work.
Step 7: Checking for Water Intrusion
Masonry is not completely waterproof. A properly designed wall manages moisture through flashing, drainage cavities, weep openings, caps, and correctly sealed transitions.
The inspection may include checking for:
- Efflorescence or white mineral deposits
- Dark or persistently damp areas
- Algae or biological growth
- Failed perimeter sealant
- Cracked wall caps
- Missing or blocked weep openings
- Damaged roof-to-wall flashing
- Irrigation spraying against masonry
- Overflowing gutters
- Interior stains near masonry walls
The visible location of moisture damage may not be the original entry point. Water can travel behind brick or stone before appearing inside the home.
Effective masonry repair should correct the moisture source whenever practical instead of simply covering the visible stain or crack.
Step 8: Examining the Chimney and Flashing
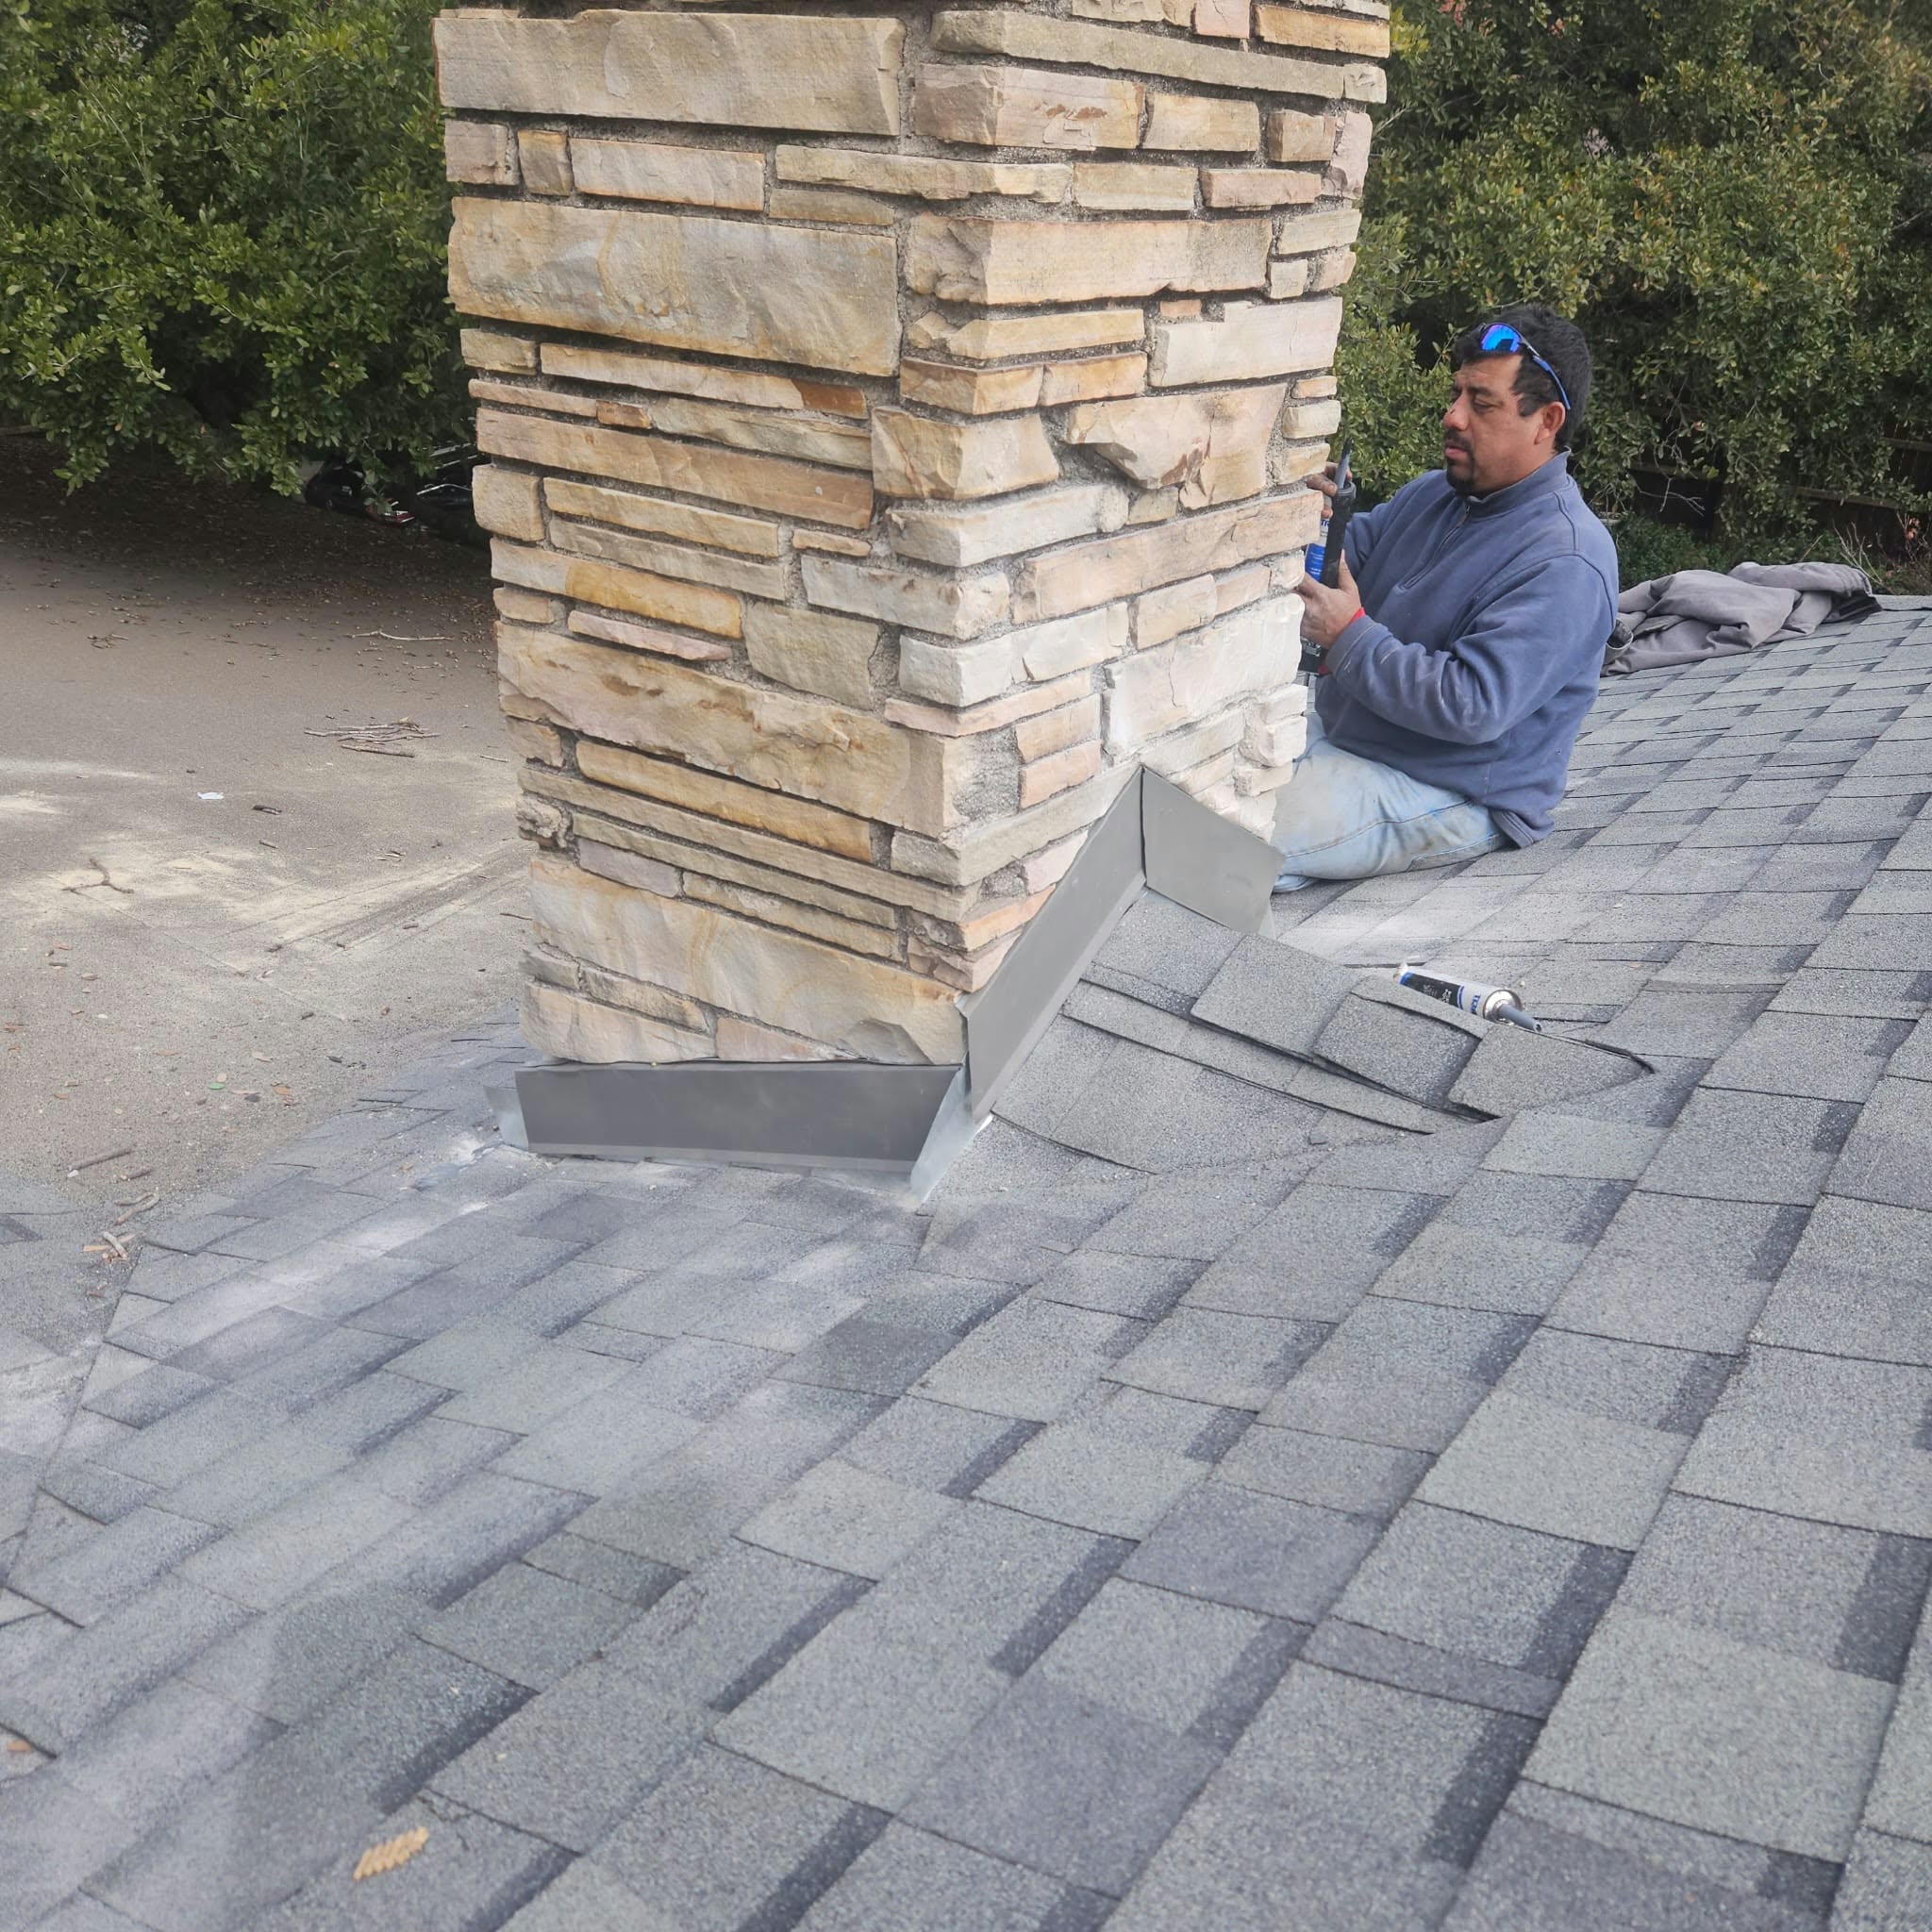
A chimney receives rain, sunlight, wind, and temperature changes from every direction. During a masonry inspection, accessible chimney components may be checked for cracked crowns, loose mortar, spalling brick, damaged caps, and failing roof connections.
The flashing around the chimney should direct roof water away from the masonry and into the roof-drainage system. Failed flashing can allow water to reach the attic, sheathing, framing, or interior finishes.
A professional chimney and flashing repair assessment may identify whether the problem involves the chimney crown, masonry joints, flashing, sealant, roof materials, or several components at once.
An inspection from ground level has limits. If close access to the roof or chimney is required, the contractor should explain the additional inspection method and necessary safety precautions.
Step 9: Inspecting Retaining Walls
Retaining walls support soil and must resist lateral pressure. The inspector will generally look for leaning, bulging, cracking, separated blocks, displaced caps, erosion, and drainage problems.
Water accumulating behind a wall can create hydrostatic pressure. If the wall lacks adequate drainage stone, filter fabric, weep openings, drainpipe, or a suitable outlet, the pressure may cause movement.
The contractor may also check whether soil is washing through the wall or whether the base has settled. Surface crack repair is unlikely to last if drainage pressure or structural movement remains active.
Severely leaning or unstable retaining walls may require reconstruction or professional engineering rather than localized patching.
Step 10: Evaluating a Paver Patio
A paver patio inspection covers more than the condition of the individual pavers. The contractor may evaluate the surface elevations, slope, drainage, joint material, edge restraints, and signs of base failure.
Common patio problems include sinking areas, rocking pavers, spreading joints, weeds, standing water, damaged edges, and settlement near the house.
Unevenness may result from inadequate compaction, insufficient base material, water erosion, disturbed soil, or movement associated with North Texas clay.
The inspector should determine whether affected pavers can be lifted and reset or whether a larger portion of the base must be rebuilt.
Step 11: Evaluating a Paver Walkway
A paver walkway should provide a stable, reasonably even walking surface. During the inspection, the contractor may look for tripping hazards, loose edges, poor transitions, drainage problems, and movement around steps or utility covers.
Tree roots, irrigation leaks, soil settlement, and missing edge restraints can cause pavers to shift. Water flowing across or beneath a walkway may also wash away bedding or base material.
The repair recommendation should address the cause of the movement. Simply adding sand around unstable pavers may not correct a damaged or poorly prepared base.
Step 12: Inspecting Concrete Works
Professional concrete works may include driveways, patios, sidewalks, steps, foundations, slabs, and structural components. During an inspection, the contractor evaluates crack patterns, settlement, surface wear, drainage, and connections to nearby masonry.
Narrow surface cracks may differ significantly from wide, displaced, or recurring cracks. Uneven slab elevations may indicate settlement, soil movement, erosion, or inadequate support.
The inspector may also check for spalling, exposed reinforcement, rust staining, ponding water, and broken edges.
Concrete repair options depend on the cause and severity. Filling a crack may not be appropriate when the slab continues to move or water is undermining the base.
Step 13: Assessing Paved Areas and Drainage
Providers of paving services in Frisco should evaluate how the hardscape manages water. Patios, walkways, paver driveways, and concrete surfaces need suitable slopes and discharge routes.
Water should not remain against the foundation or collect in low areas. Drainage problems can cause staining, erosion, joint deterioration, and settlement beneath pavers.
The inspector may identify whether the repair requires surface regrading, base reconstruction, drainage installation, edge-restraint repair, or adjustment of adjoining landscaping.
A masonry or paving surface should be considered part of the property’s wider drainage plan.
Step 14: Reviewing Previous Repairs
Old repairs provide valuable information. Reopened cracks, mismatched mortar, heavy sealant applications, and patching over loose material may reveal unresolved movement or water problems.
The inspector may determine whether the previous repair used incompatible mortar or whether the damaged area was repaired without correcting its cause.
Hard mortar placed next to softer brick can concentrate stress in the masonry units. Waterproof coatings can also create problems if they trap moisture inside a wall that was designed to release it.
Previous repair materials may need to be removed before a compatible restoration can be completed.
Step 15: Determining Whether Damage Is Cosmetic or Structural
One of the most important goals of a masonry inspection is to determine the significance of the damage.
Cosmetic issues generally affect appearance but do not substantially change stability or weather resistance. Structural or performance-related concerns may involve widening cracks, loose masonry, wall movement, failed lintels, unstable retaining walls, water intrusion, or separation between building components.
The contractor should avoid declaring major structural damage without adequate evidence. When conditions fall outside the contractor’s scope, referral to an engineer, foundation specialist, roofer, or drainage professional may be appropriate.
Step 16: Identifying Immediate Safety Concerns
Loose brick, leaning walls, unstable chimney components, and severely uneven walkways may present immediate hazards.
If the inspector identifies a potential falling-material or collapse risk, the area may need to be temporarily restricted until repairs can be completed. This is especially important around entrances, patios, driveways, sidewalks, and play areas.
The contractor should distinguish urgent safety work from repairs that can be planned and monitored over time.
Step 17: Preparing Repair Recommendations
After examining the property, the contractor should explain what was found, the likely causes, and the recommended repairs.
Possible recommendations may include:
- Mortar repointing
- Selective brick replacement
- Stone resetting or replacement
- Crack repair
- Lintel repair or replacement
- Chimney crown repair
- Flashing repair
- Retaining-wall drainage improvements
- Paver lifting and resetting
- Base reconstruction
- Concrete repair or replacement
- Gutter or downspout improvements
- Grading and drainage corrections
- Monitoring of stable cracks
- Structural evaluation
The repair sequence matters. Water, drainage, or movement problems may need to be corrected before damaged masonry is restored.
Step 18: Receiving a Written Estimate
A professional estimate should clearly identify the work areas, materials, preparation, installation methods, and cleanup.
For mortar work, the proposal should explain whether deteriorated joints will be removed and repointed. For brick repair, it should state whether units will be reset, replaced, or rebuilt.
Paver proposals should describe base preparation, bedding material, edge restraints, joint material, and drainage corrections. Retaining-wall estimates should identify structural and drainage components rather than discussing only the visible blocks or stones.
The estimate should also clarify permit responsibilities, potential hidden conditions, warranty terms, payment schedule, and how changes will be approved.
What a Masonry Inspection Usually Does Not Include
A standard visual inspection may not include destructive testing, excavation, removal of brick, laboratory mortar analysis, engineering calculations, or access to concealed components.
These services may be recommended when the visible evidence suggests hidden damage or when the repair affects structural systems.
Homeowners should ask what areas were accessible, what could not be inspected, and whether the findings are preliminary or final. Understanding these limitations helps prevent unrealistic expectations.
How to Prepare for the Inspection
Before the appointment, make a list of every concern and note when each problem was first observed. Gather photographs, previous estimates, repair invoices, foundation reports, and renovation records if available.
Clear furniture, plants, or stored items away from the affected area when practical. Provide safe access to patios, walkways, retaining walls, fireplaces, and interior locations where moisture has appeared.
Avoid filling cracks or applying fresh sealant immediately before the inspection. Covering the evidence can make the cause more difficult to determine.
Questions to Ask After the Inspection
Ask the contractor what caused the damage, whether the condition is active, and what could happen if the repair is delayed.
You should also ask whether drainage, flashing, foundation movement, or soil conditions contributed to the problem. Confirm which repairs are essential, which are preventative, and which are primarily cosmetic.
A trustworthy contractor should be able to explain the findings in clear language and identify when another specialist is needed.
Benefits of a Professional Masonry Inspection
A professional inspection can help homeowners avoid repairing symptoms while leaving the underlying problem unresolved.
It can also help prioritize work, plan a realistic budget, select compatible materials, and determine whether related paving, drainage, concrete, or flashing improvements are required.
For homeowners considering a new patio, walkway, retaining wall, or masonry feature, a site inspection can identify grading, access, soil, and drainage concerns before construction begins.
Schedule Masonry Services in Frisco
A detailed masonry inspection provides the information needed to make sound decisions about brick, stone, concrete, retaining walls, patios, walkways, chimneys, and other exterior features.
Emerson Pro Services provides professional masonry and paver services in Frisco, including masonry repair, brick repair, paver patio installation, paver walkway services, retaining walls, concrete works, paving services in Frisco, and chimney and flashing repair.
Call Emerson Pro Services at 469-414-9195 to request a masonry inspection or an onsite estimate for your Frisco property.
Frequently Asked Questions
How long does a professional masonry inspection take?
The time depends on the size of the property, the number of affected areas, accessibility, and the complexity of the damage. A localized brick concern may require less time than an inspection involving patios, retaining walls, a chimney, and interior moisture.
What does a masonry inspector look for?
The inspector looks for cracks, loose masonry, deteriorated mortar, spalling, stains, water intrusion, drainage problems, corrosion, settlement, and previous repair failures. Related pavers, concrete, retaining walls, and flashing may also be evaluated.
Does every masonry crack need repair?
No. Some narrow, stable cracks may only need monitoring. Widening cracks, loose masonry, repeated movement, water intrusion, and cracks associated with bulging or displacement generally require closer evaluation.
Can a masonry contractor identify foundation problems?
A masonry contractor can recognize crack patterns and movement that may be associated with foundation issues. A structural engineer or foundation specialist may be recommended when the condition requires additional analysis.
Are patios and walkways included in a masonry inspection?
They can be. Paver patios, paver walkways, concrete surfaces, steps, and driveways may be inspected for settlement, drainage problems, unstable edges, damaged joints, and tripping hazards.
Will the inspector check my chimney?
Accessible chimney masonry, mortar, crown, cap, and visible flashing may be reviewed. Close roof access or specialized chimney evaluation may require a separate service.
Should I repair the masonry or drainage problem first?
The moisture or drainage source generally needs to be corrected before or in coordination with the masonry repair. Otherwise, the repaired area may remain exposed to the same damaging condition.
Will I receive a written masonry repair estimate?
A professional contractor should provide a written scope describing the repair areas, materials, preparation, installation, cleanup, and relevant terms. Ask whether the inspection and estimate are separate services.